How to rip Blu-Ray disks with MakeMKV and Handbrake
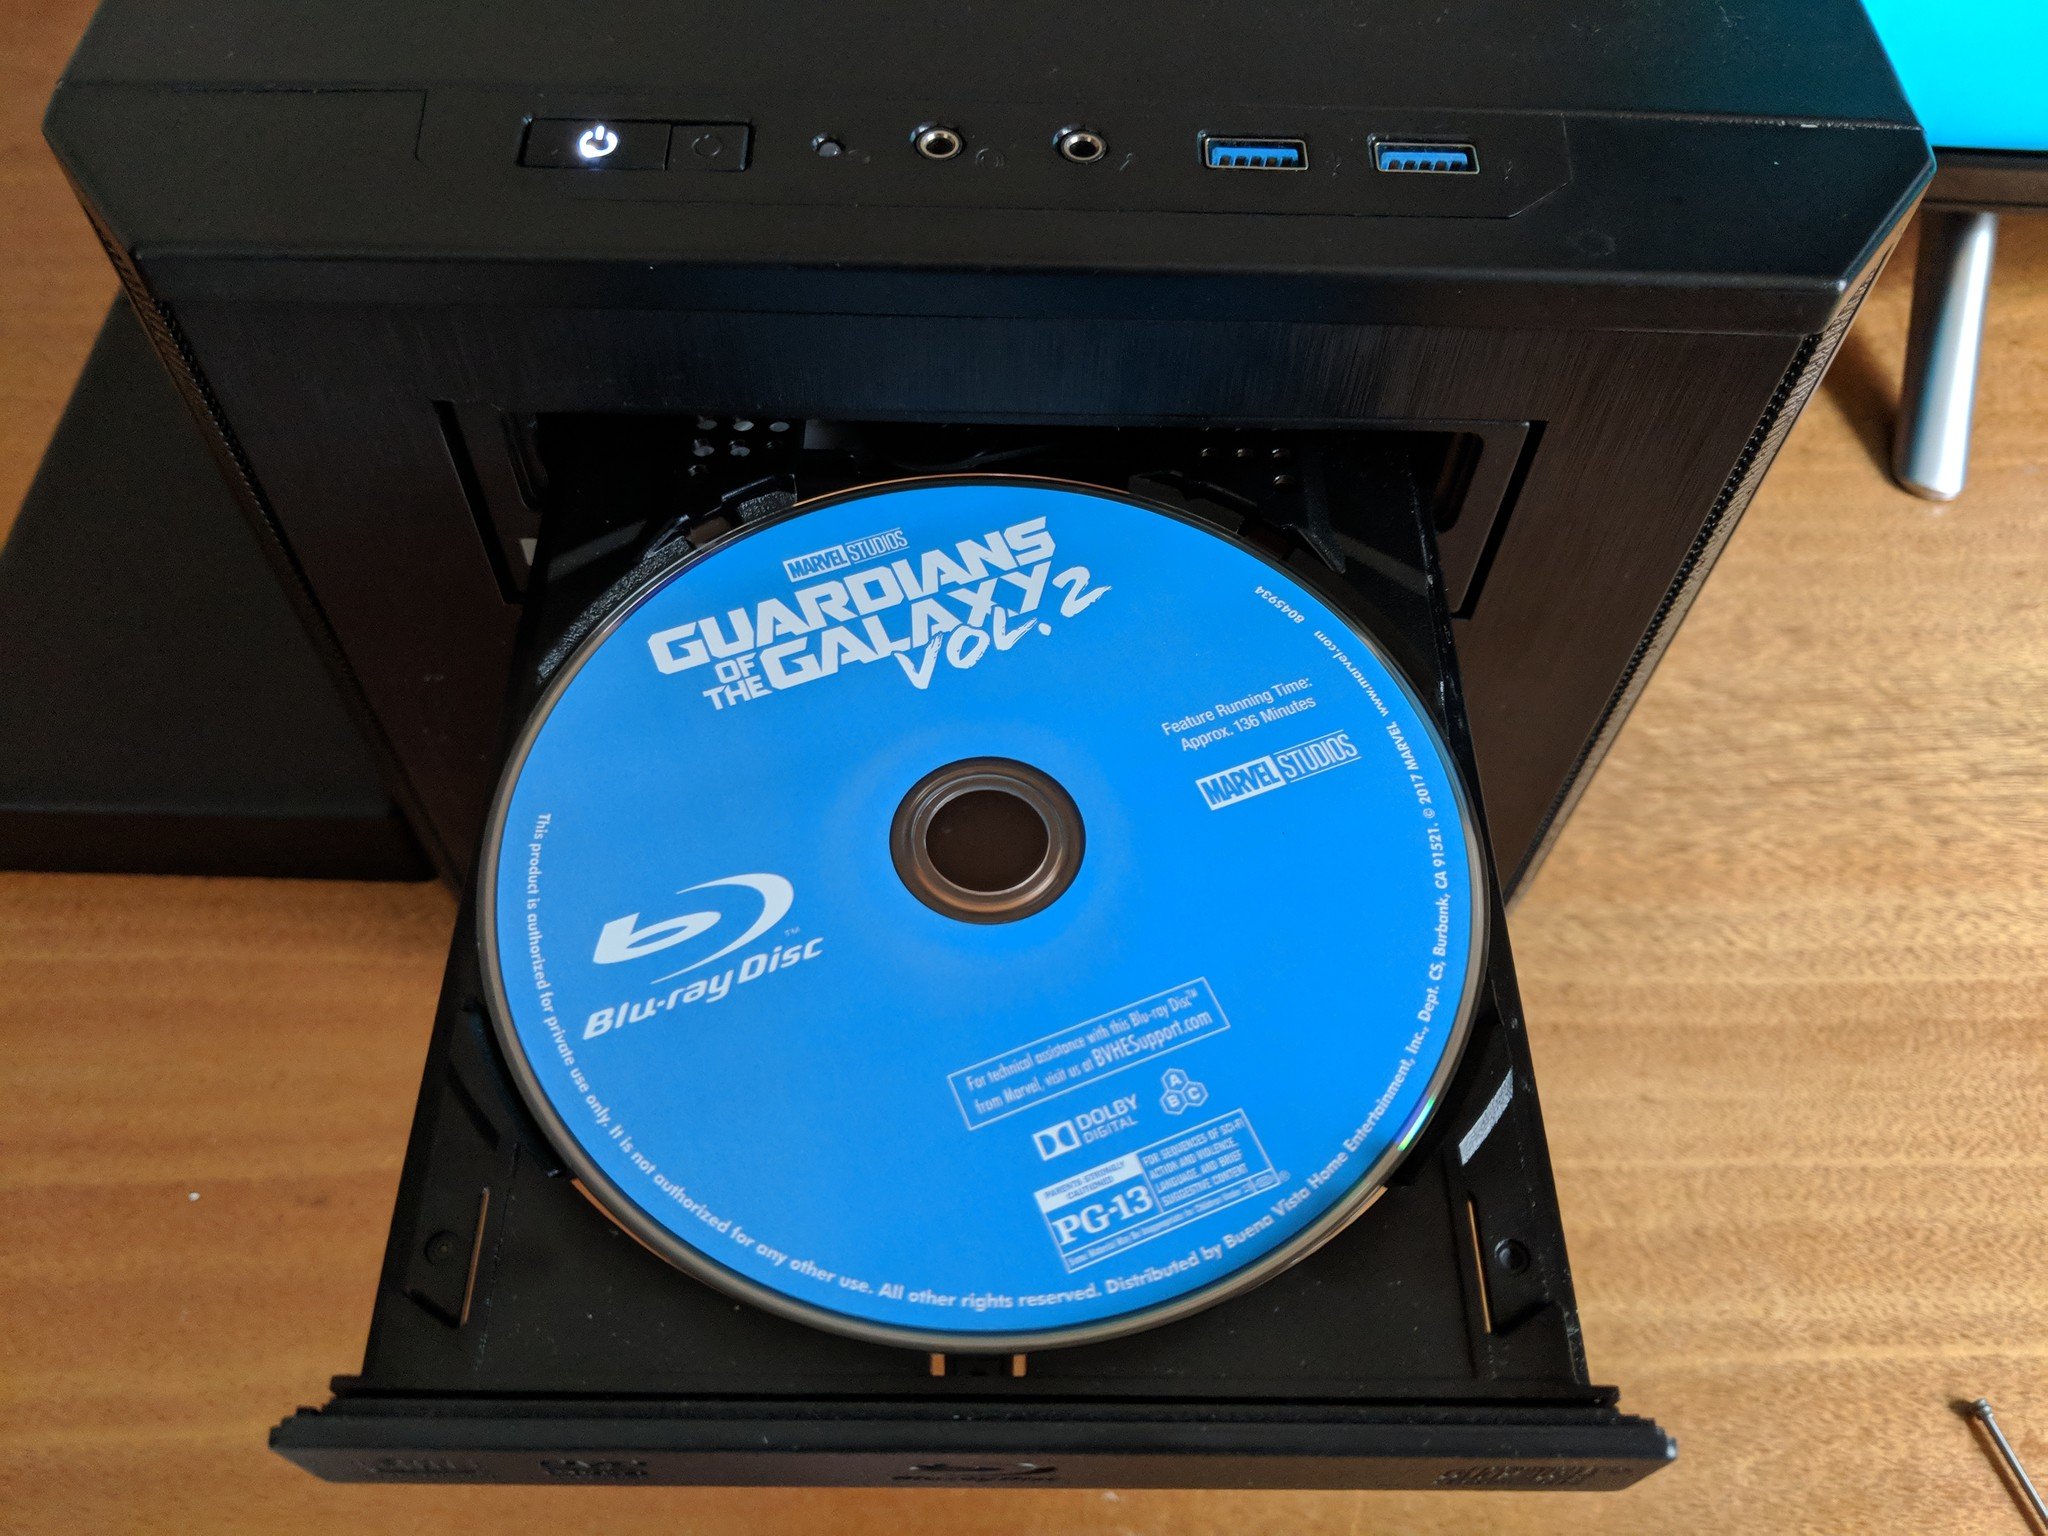
We all know that person (or we are that person) who has a cabinet or shelf full of DVD and Blu-Ray boxes. The disks just sit there until they're needed, and sometimes the disks can't be read anymore. Thankfully, backing these movies or TV shows up just takes a few tools and some time!
Products used in this guide
- MakeMKV: MakeMKV (30-day trial, lifetime license for $30)
- HandBrake: HandBrake (Free)
- Dan Hinsley: MetaX (5-file trial, lifetime license for $10)
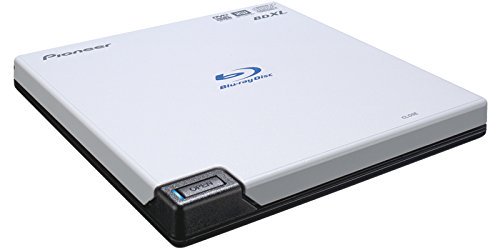
- Amazon: Pioneer Internal Blu-Ray Burner ($99)
How to rip your Blu-Rays and DVDs with MakeMKV
- Plug the Blu-Ray drive into your laptop or desktop with the included USB cable.
- Download and install MakeMKV from the link above — we use this ourselves, so we promise it's safe!
- Put the Blu-Ray or DVD disk in the disk drive .
- Open MakeMKV.
- Click File .
- Hover your mouse over Open disc , the select the disk that's listed .
There will a number of files listed, with different numbers of chapters. These files represent different languages, bonus content, and other files that are on the disk itself. If you just want the main film, you can uncheck all of the boxes except for the one next to the largest file size. You can do this quickly by right clicking any of the files, then clicking **Unselect all*.
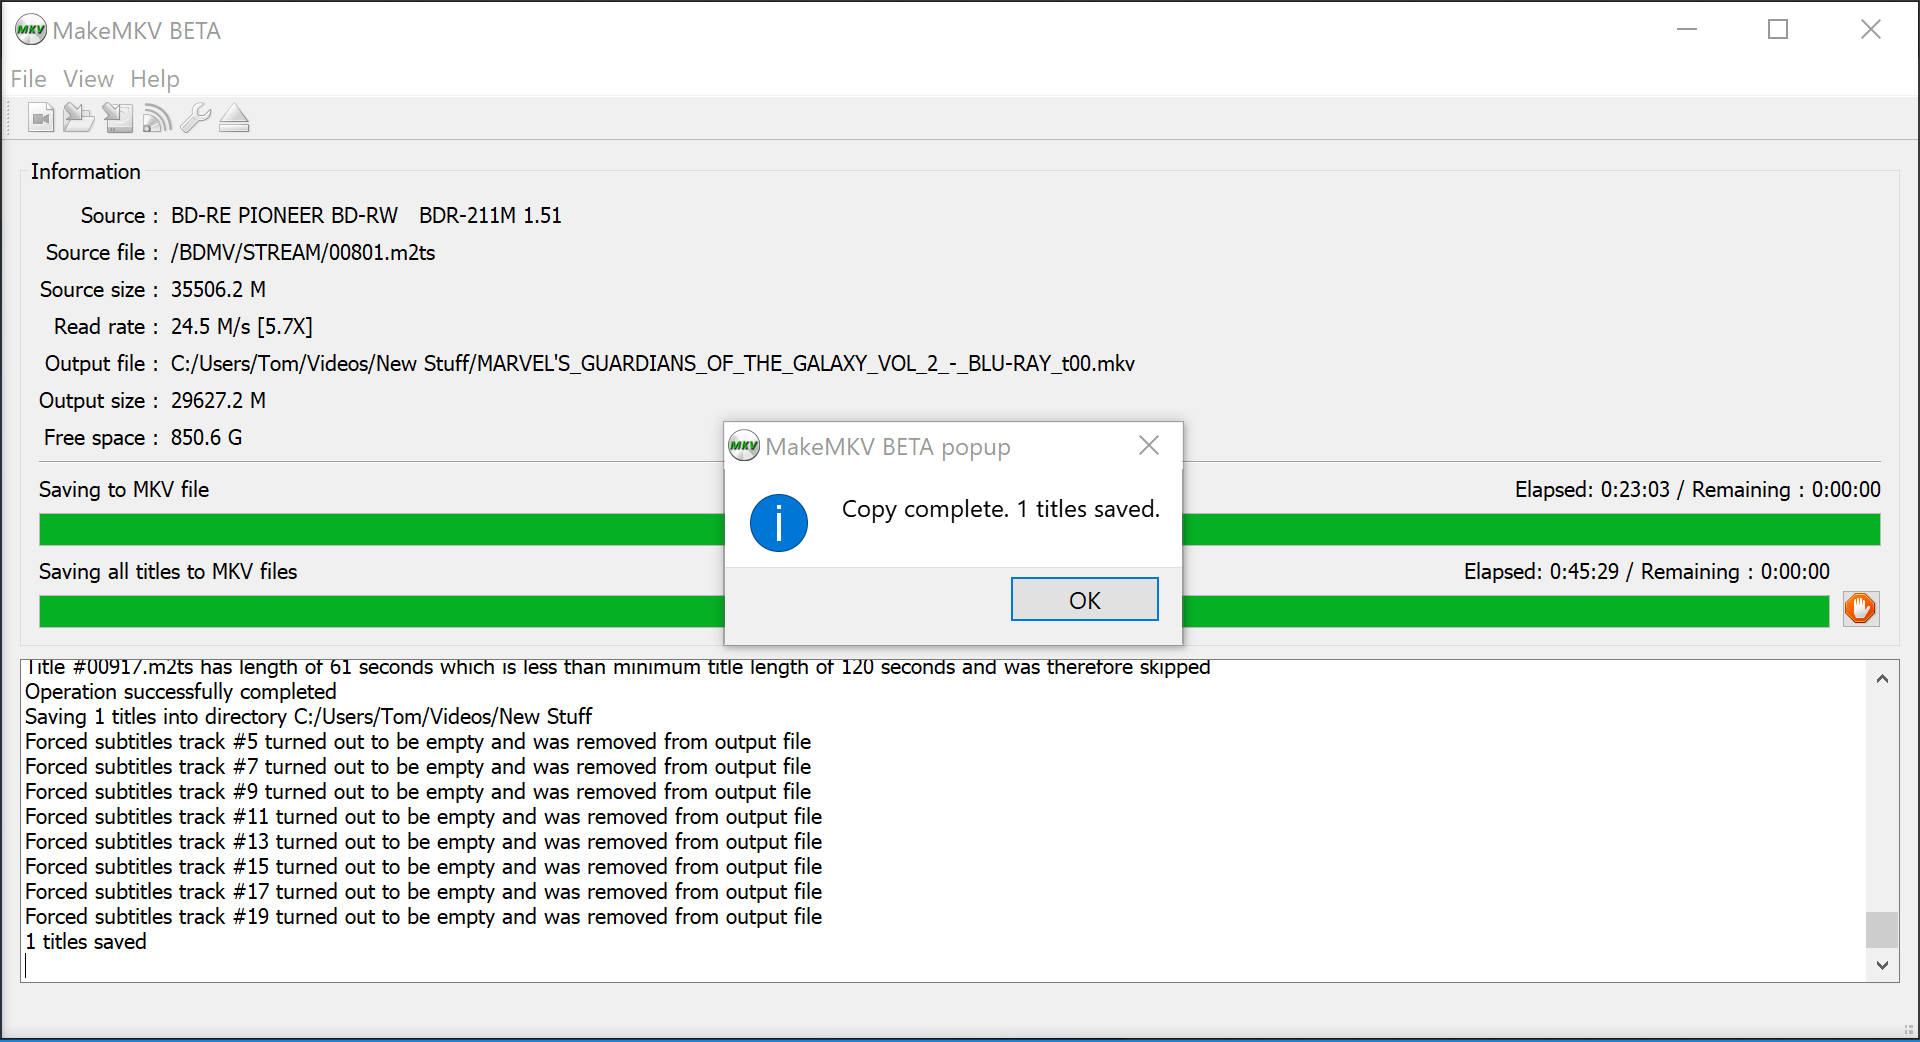
TV Shows are a different beast. Again, each episode is going to be its own file, and a 20-minute episode is going to be roughly the same file size as another 20-minute episode from the same disk. So, make sure all the files that are about the same size are all checked off.
You can mess with stuff like the output folder, file name, but the basics are done. Click the MakeMKV button in the upper-right. How long it takes to rip your files will mostly depend on how fast your DVD or Blu-Ray drive reads. Blu-Rays will take longer just because they're bigger files, and I've found internal drives work much faster than external USB ones, so consider that if you have the space to spare in your desktop.
How to convert the ripped file with Handbrake
We're done with the disk, but we can go a few steps further to make your movie or TV Show file a bit easier to playback. As the name suggests, makeMKV just turns the file from the disk into an MKV file. That can be played on most platforms, but an MP4 file is going to be supported on literally anything with a screen, and it'll require less processing power if you're going to have the file in a Plex server.
- Download and install HandBrake — again, we use this on our computers.
- Open HandBrake .
- Click File under Source Selection.
- Open the MKV file that MakeMKV created.
- Adjust the file name and location as you set fit.
- By default, HandBrake will encode the file as an MP4. This is what we want, but you can still change some settings by clicking the Video tab.
- Click Start Encode .
How long the encode takes will depend on how beefy the CPU in your system is, as well as what quality you set the encode to. A "lower" quality may not look different compared to a lossless file, and it'll save a lot of time and space on your hard drive. My system has a Ryzen 7 1700 processor with the stock speed and cooler, and it can encode a two-hour or so movie at lossless quality in about an hour.
The latest updates, reviews and unmissable series to watch and more!
When that's done, that's it! Your file is now converted to MP4 format, so it can be played back on nearly every device.
Make your files look pretty with MetaX
We're done, but we can do a few more steps to make the movies easier to browse in a Plex library, or just in your file explorer.
- Open your File Explorer .
- Find the MP4 file that HandBrake created.
- Rename the file to only list the movie title and the year.
- Download and install MetaX. Again, we're not asking you to install something that we ourselves don't use.
- Open MetaX.
- Click the Folder button in the upper-right corner.
- Select the new file from HandBrake .
- Select whether this is a Movie, TV Show, Music Video or none of the above.
- The easiest thing to do is click AUTOTAG up at the top. This will search a few sources on the Internet based on the movie's file name, and write the file metadata based on that.
- If AUTOTAG doesn't find the right data, make sure your title matches the movie title on iTunes, IMDB, and the other sources.
- If AUTOTAG still doesn't work, you can download the film cover art yourself, and add it to the file by clicking Select File in the info tab.
- When your cover art and other metadata is ready, write the metadata to the file by clicking the Play button at the top.
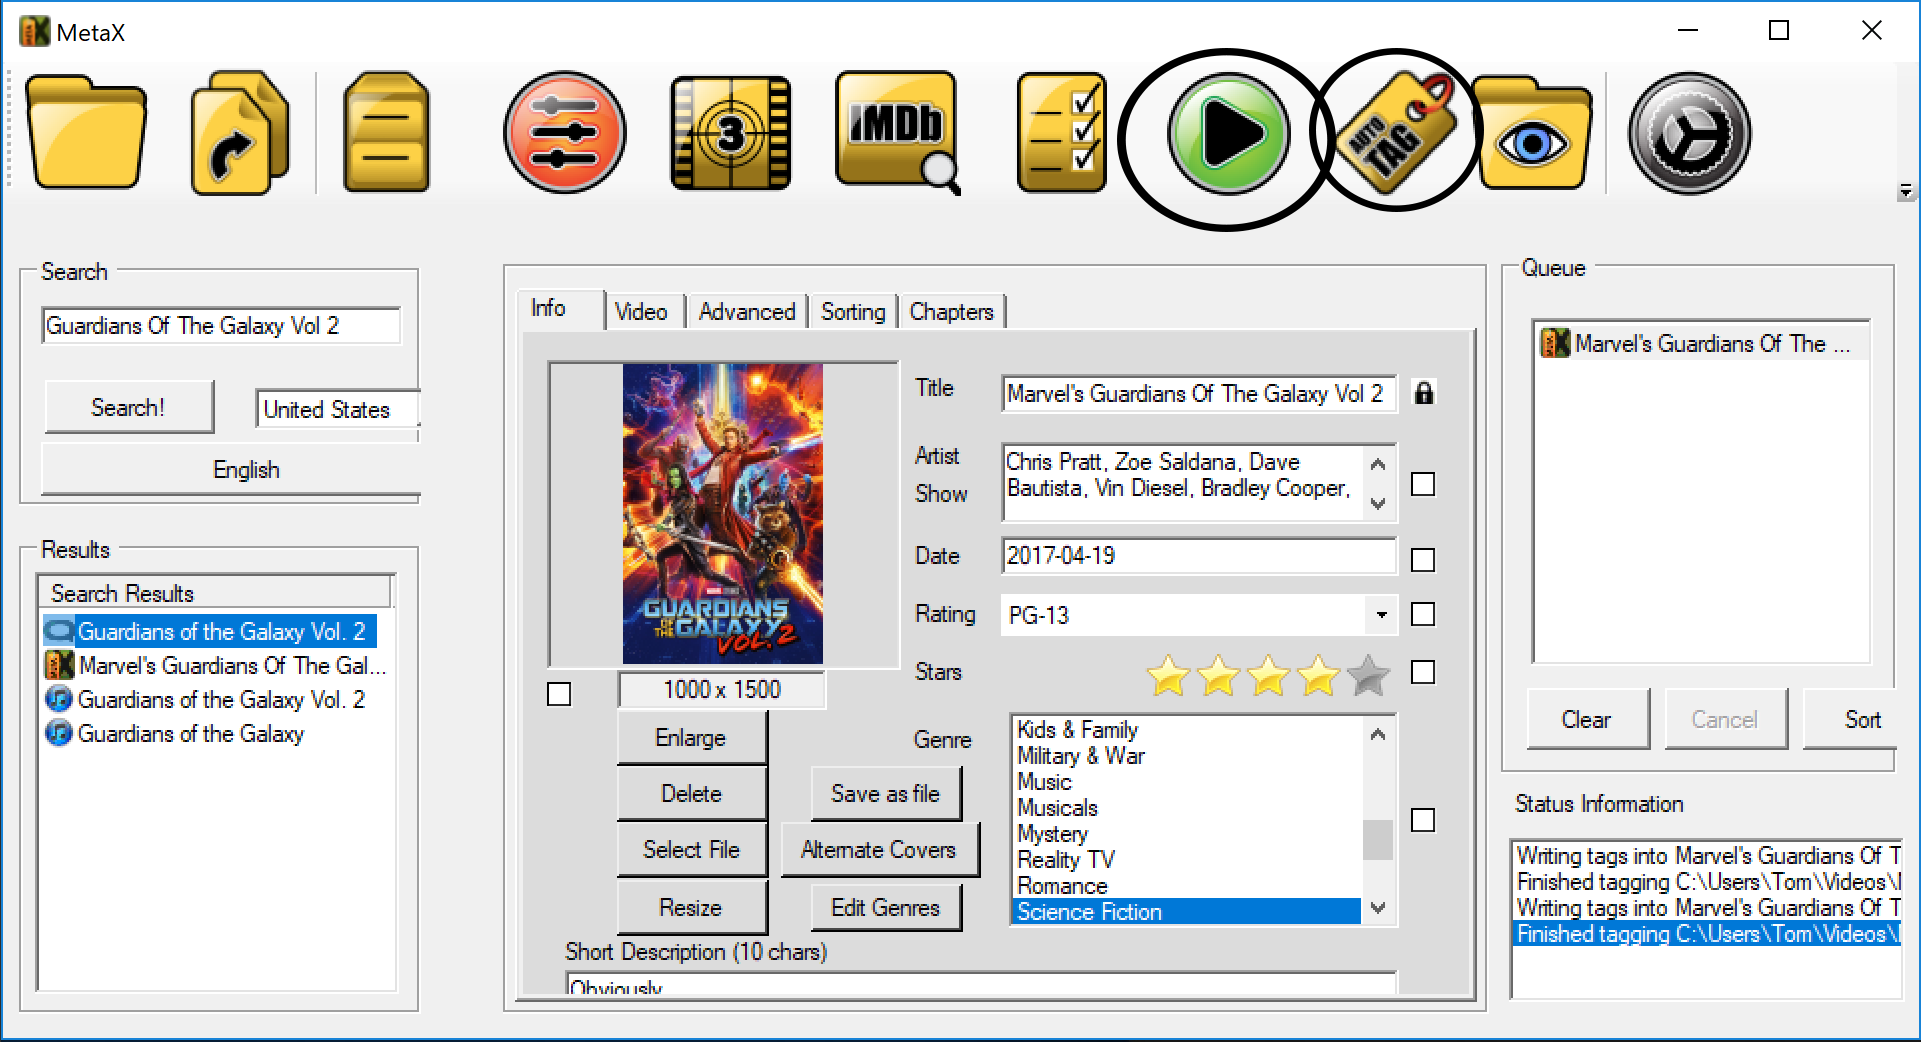
That's it! Now your file has the movie or TV Show's cover art, making it beautiful and easy to sort through your library.
Our top equipment picks
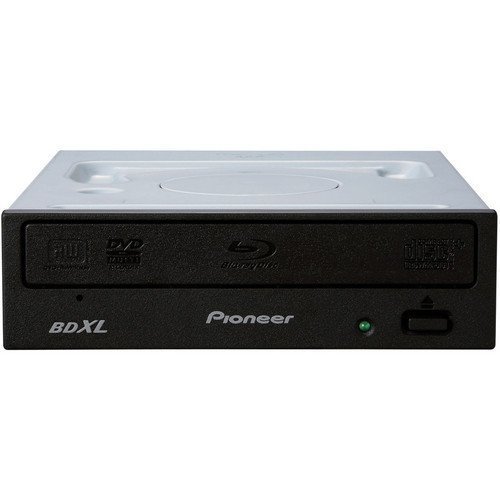
The disk reader for you
When you're serious about backing up your movies.
An internal drive is going to be much faster than a USB one, and this is the best Blu-Ray drive right now.
If you're going to get a disk drive, the extra cost for a Blu-Ray one will serve you better in the log run. This is an internal drive, so you need a free 5.25-inch bay in your desktop, as well as a free power and SATA cable inside. If you have a lot of disks to get through, the extra speed will definitely come in handy.
Additional Equipment
If you're copying disks to your laptop — or you don't have space on your desktop — a USB Blu-Ray reader will work just as well, only a bit slower.
